Listen to Sour Dough Made Easy HERE

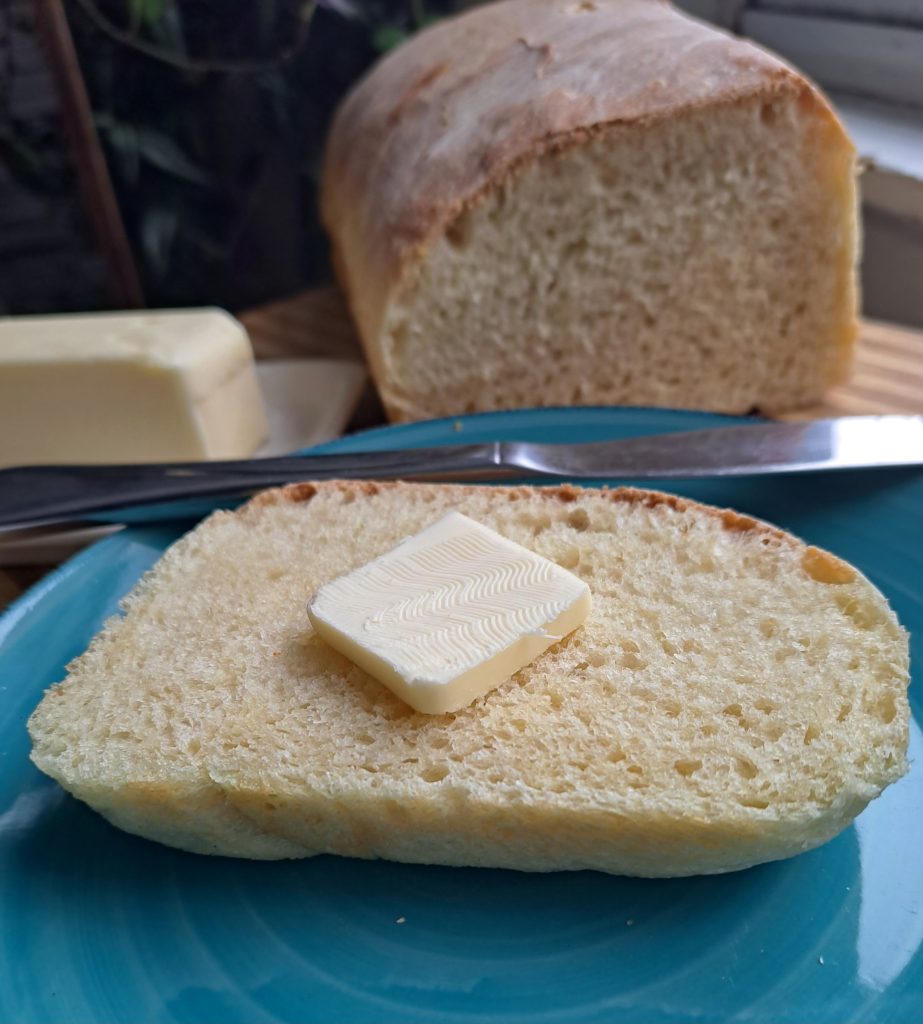
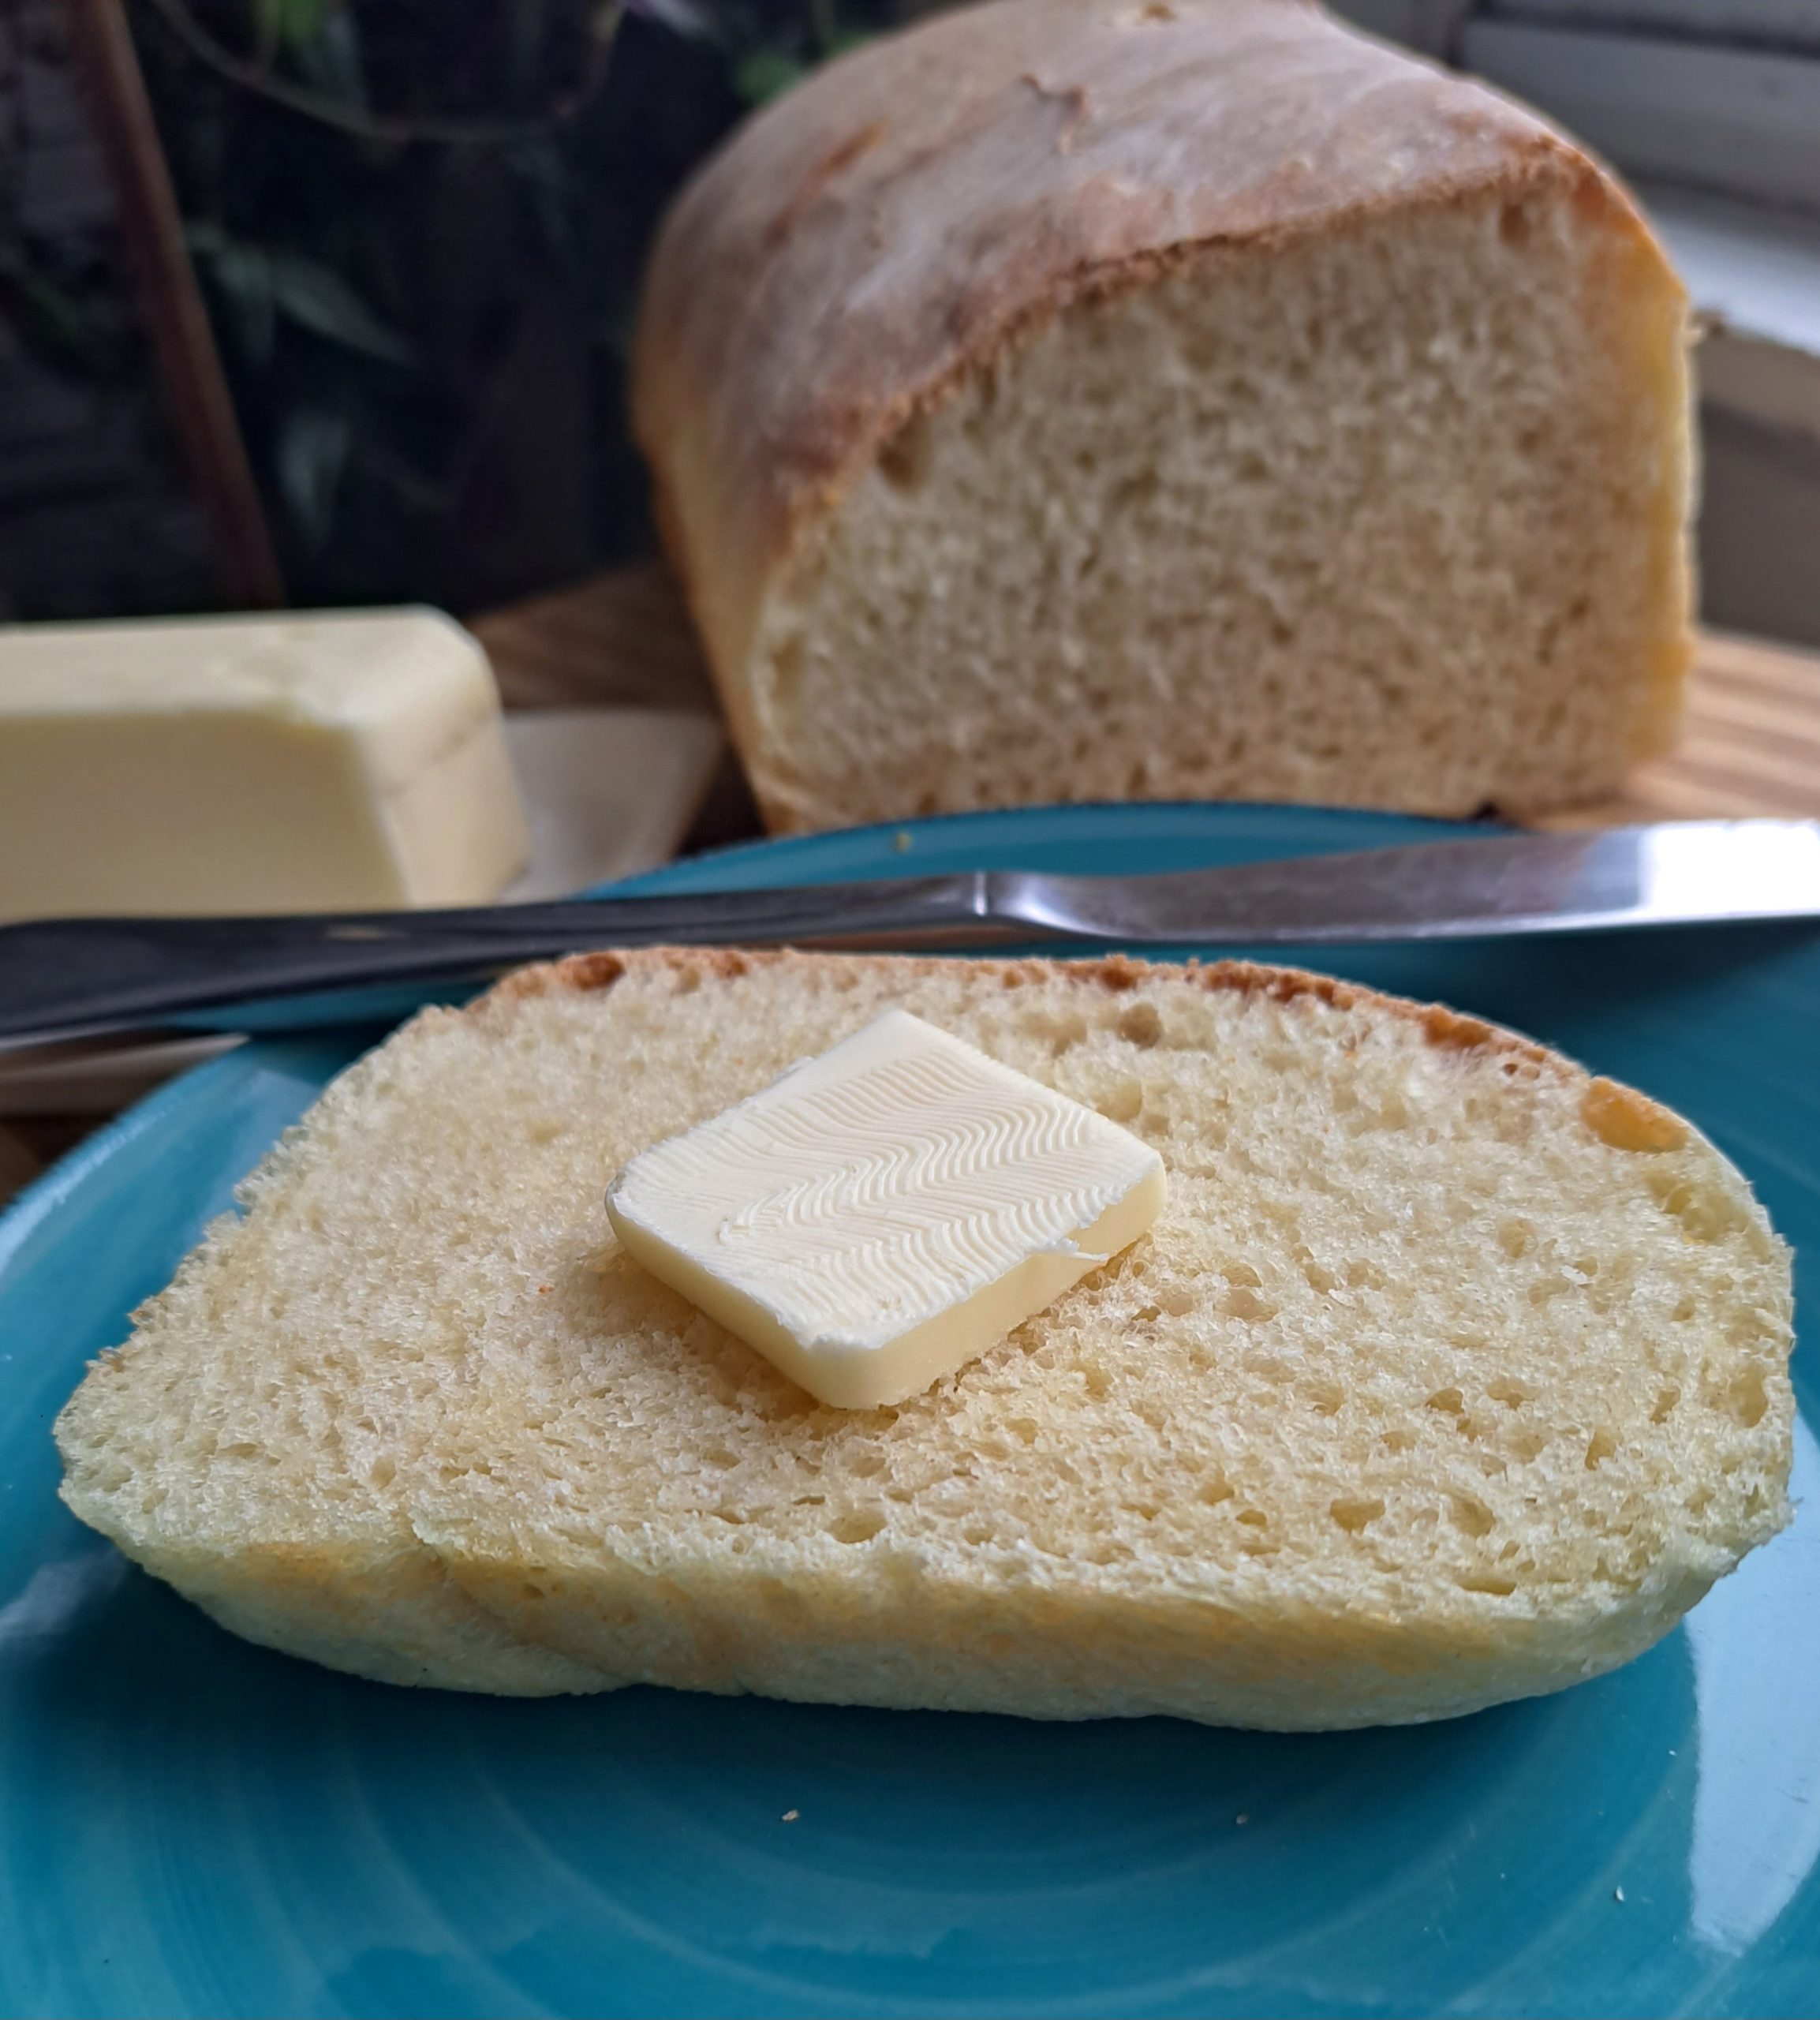
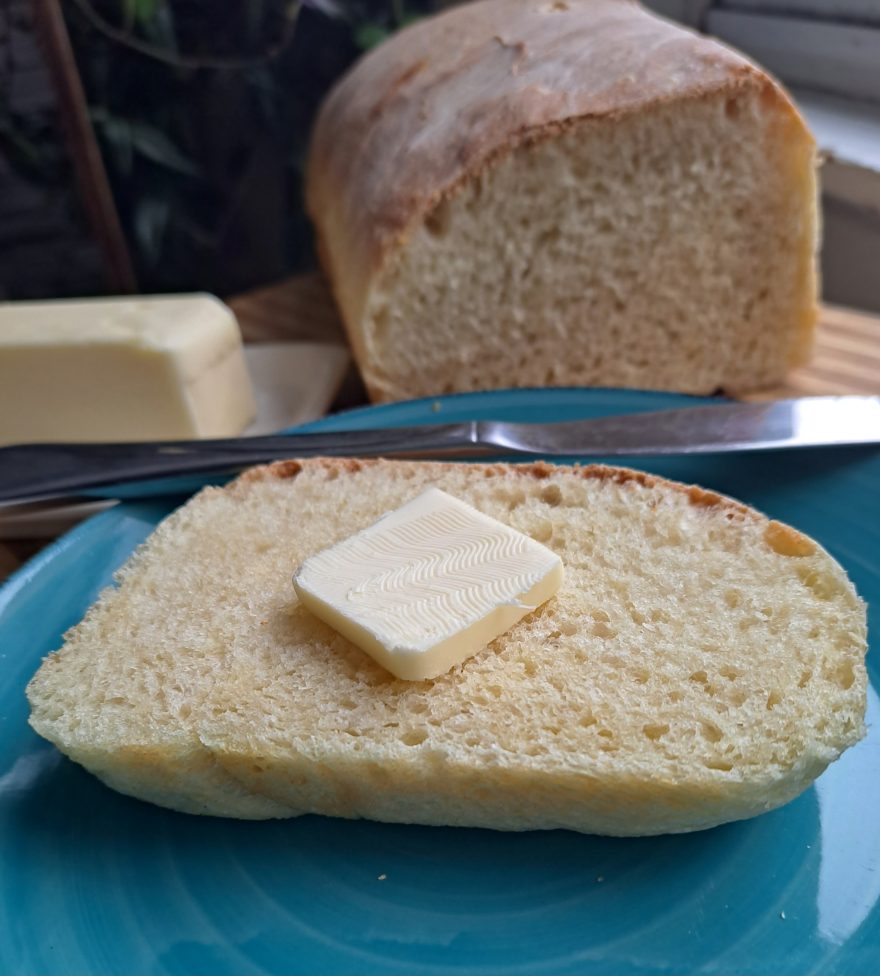
What’s better than warm fresh sour dough bread? Well, nothing! Nothing is better. Unless you have warm fresh sour dough bread with butter slathered on it. That’s better.
As you might have guessed we are discussing our love of making sour dough today. You might have heard how difficult it is to make it. All the steps, all the kneading, all the pressure! And then, you have the forming and baking. Do you use a loaf pan? Or maybe a dutch oven is better. Maybe you should do a free form loaf. Worry not, faithful listener! We talked about all of it today.
The most important take away from today’s episode is to realize this is not the fussy, complicated, long process it is often made to be. We did allow ourselves a few moments of bad mouthing today about some bakers who make the process too complicated. I think we have simplified it more approachable to everyone. We don’t have time for 50 steps. And we know most other moms don’t either.
Give this episode a listen then give it a try. Find the recipe on our website if you happen to be listening on one of our listening platforms. Or scroll down if you’re on our website. We would love to see a picture of your results in the comments for this episode.
If you’re wondering just how to shape a sandwich loaf check out this handy video right HERE
Listen To More
Have you heard our episode on what we call inspiration cooking? Sour dough is a great place to start with it once you get the basics down. Add ins are delicious in sour dough. Jalapeno cheddar bread, anyone? Listen to Inspiration Cooking HERE
We will be adding building up SD starter soon. Be watching for that!
Music is by Oliver Massa. It is called Weekend Chores.

Sour Dough
Ingredients
Method
- Start by combining the flour and the water in your stand mixer. Then add the starter and mix until well combined. Then finally add the salt and mix.
- After everything is mixed the bread should form into a ball of very sticky dough. If you held it in your hand it should leave a lot of dough behind when you put it down. If it is not very sticky add water a little at a time until it reaches the consistency described above.
- Remove your mixing bowl to a warm place around 70 to 75 degrees. I put mine close to the heater. It’s OK if there is no such place in your home, the bread will still activate it will just take longer.
- I mix mine every once in a while to help the starter activate. Maybe once an hour. If that isn’t possible, it is fine, it will just take a little longer.
- Once several hours have passed I remove my bread from the mixing bowl and put it into my bread pans. Then cover them and once again put them in a warm place until I’m getting ready to go to bed, when I put them in the fridge.
- In the morning, take them out of the fridge and let them sit out at room temperature for two hours. Set your oven on 375° when it is time. Cook for one hour turning them when about a half hour has passed.

